

by Umar Qureshi
What is Heroku ?
Heroku is a cloud platform as a service supporting several programming languages. One of the first cloud platforms, Heroku has been in development since June 2007, when it supported only the Ruby programming language, but now supports Java, Node.js, Scala, Clojure, Python, PHP, and Go.
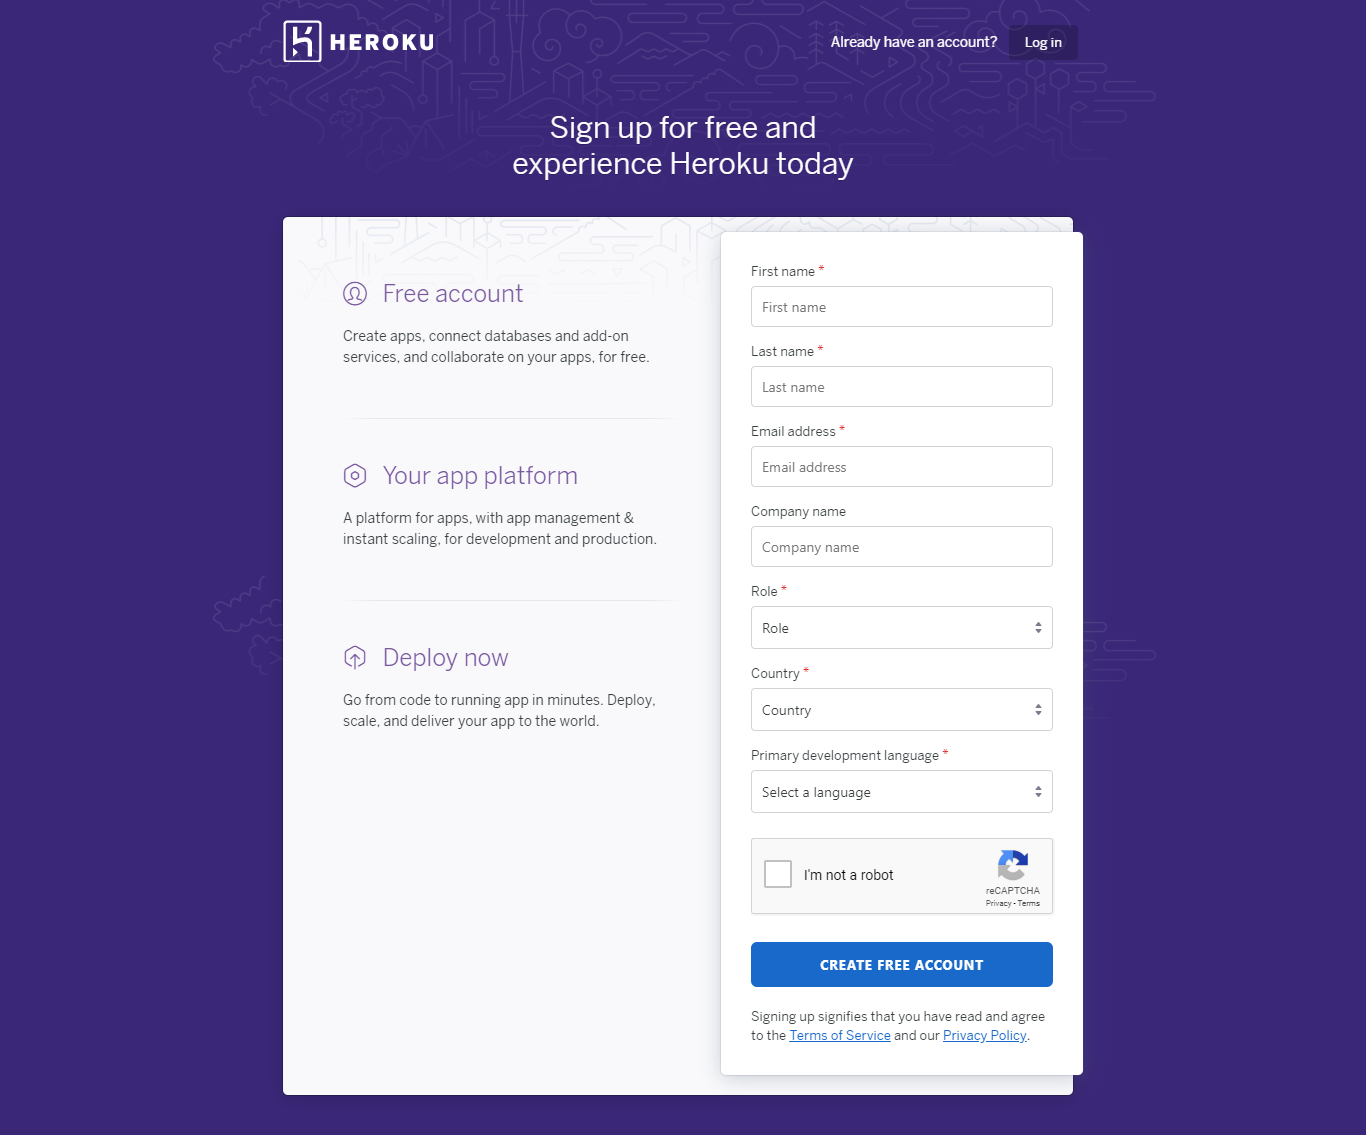
Get started with Heroku by creating a free account Click Here
Download Heroku CLI (Command Line Interface) for the respective Operating System you are using. To download Click Here
Download GIT CLI (Command Line Interface) for the respective Operating System you are using. To download Click Here
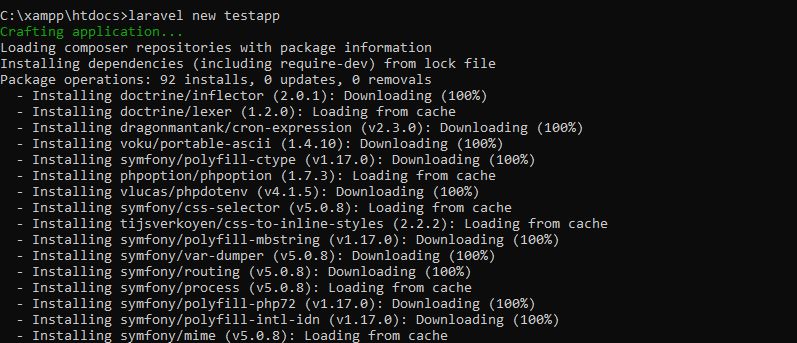
Now create a Laravel App. Use the command laravel new appname
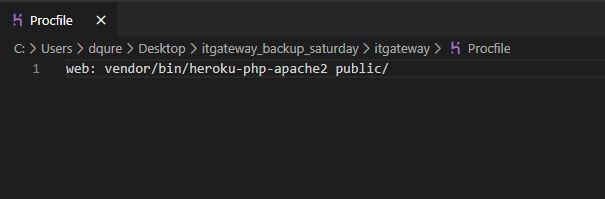
In your Laravel Project create a new file named Procfile
Learn More about Procfile
Login to your Heroku account with your Heroku CLI. Keep your terminal/prompt open in the path of your Laravel Project.
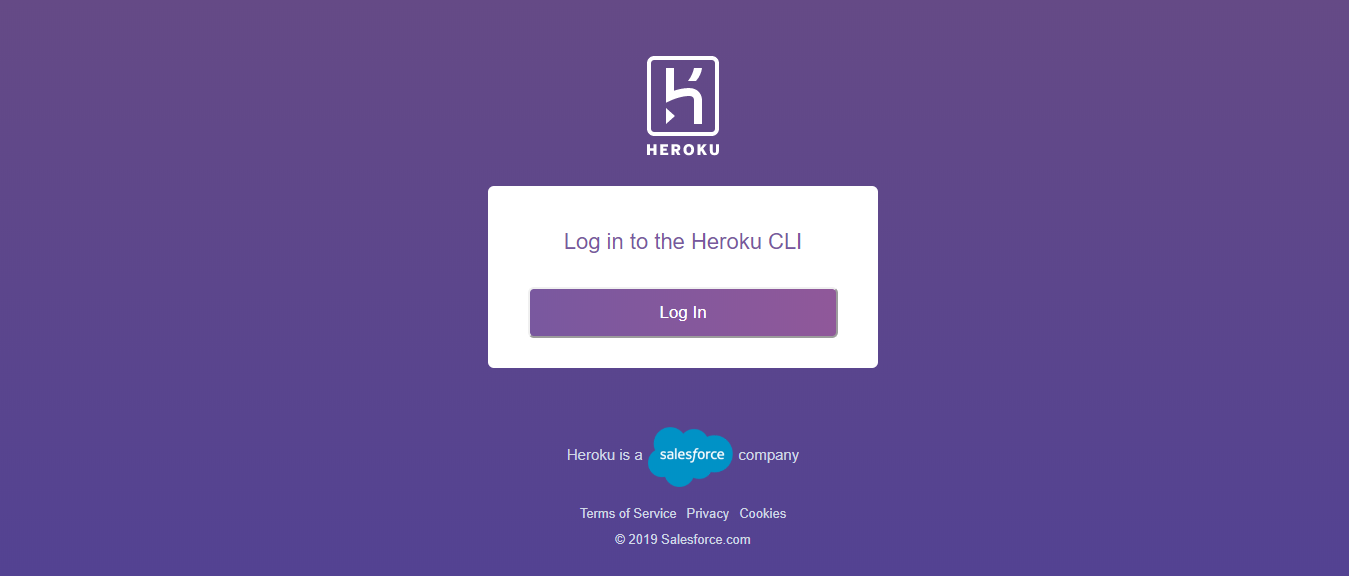
Use the command heroku login in your terminal. You will be redirected to browser and you will be asked to login. Kindly fill your credentials and login into heroku

Return to your command prompt and you will see Successfully logged in message
Initialize your folder with a git repository
1 - git init
2 - git add .
3 - git commit -m "Initial Commit"
Now we have to create a new app on Heroku
Use the command heroku create

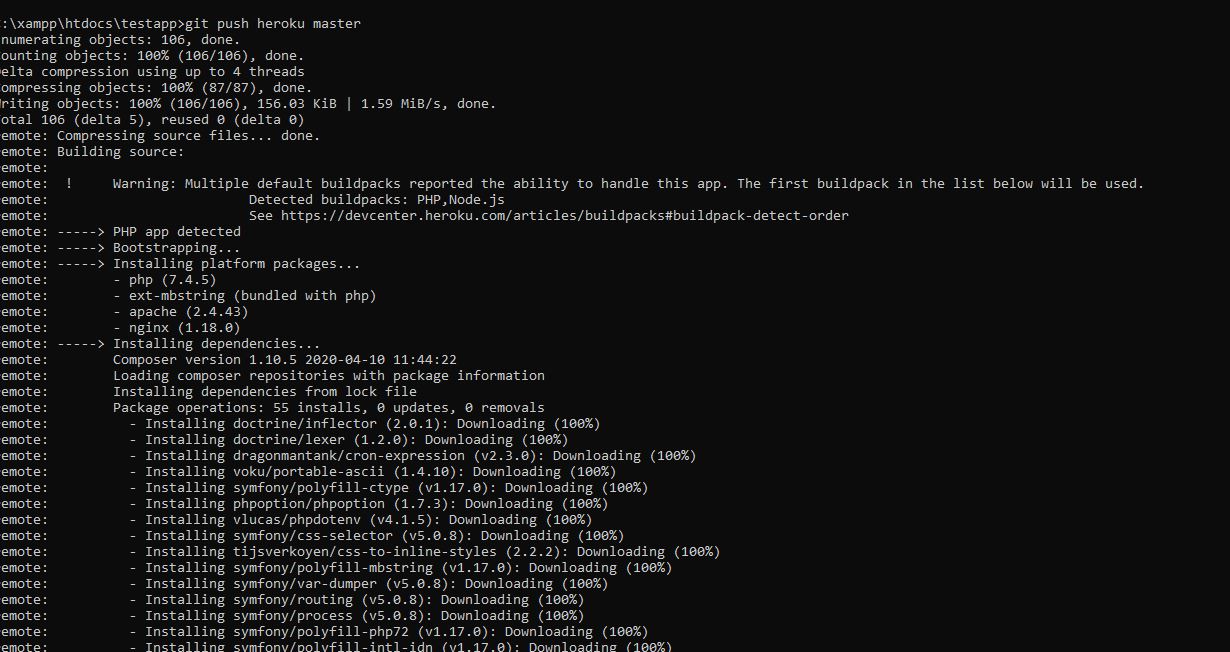
Push your Laravel Webapp to heroku server using the command:
git push heroku master
Now we have to config our .env data to our Heroku App. If not done, our website will not work
Ways for adding all .env data to our Heroku App
1 : Add .env data on heroku app Open your heroku app and locate settings tab. Under the settings tab you will get an option of config vars. Paste your .env data one after the other
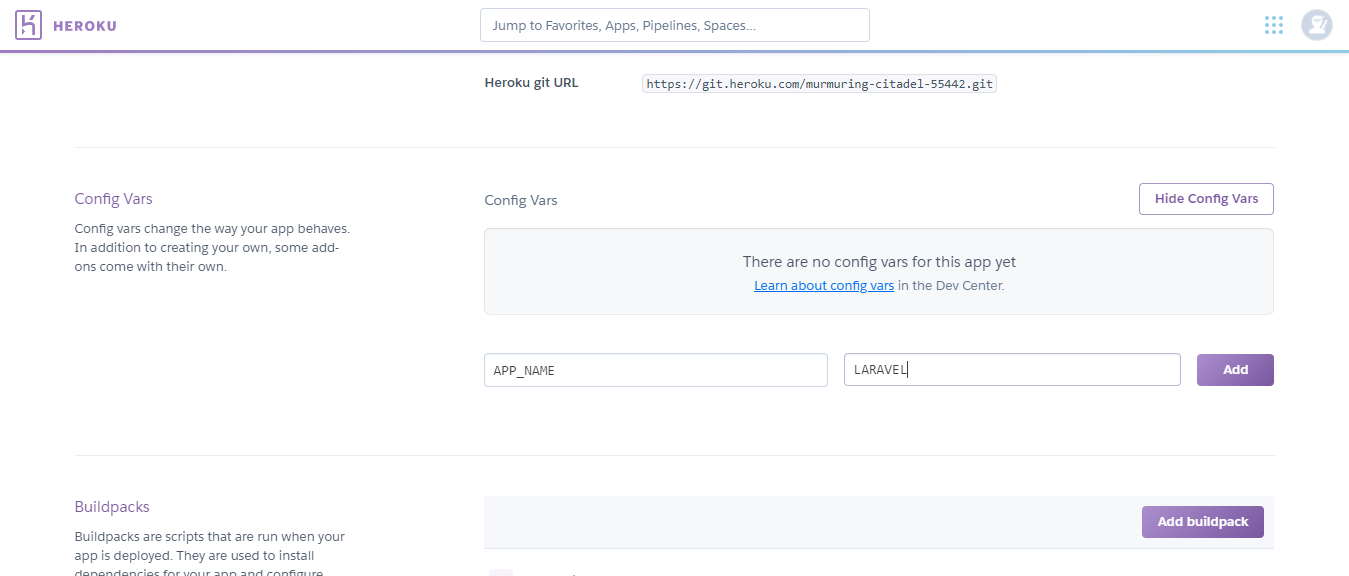
2. We can also add our .env vars to our Laravel Application using command line statements
EG : heroku config:add APP_NAME=Laravel
Similarly we can add all the .env vars and now our Website is ready to access on the web
Thus by following these steps we can Host our Laravel Webapp on Heroku. If any queries you can get back to
dqureshiumar@gmail.com.
Hope you liked it.
Thank You.